| 1. Disconnect all
network connections (wireless and wired) your notebook
currently have; unplug the network cable. |
|
|
| 2. Disable your
firewall. Dependent on its settings establishing the
connection could be prevented otherwise, shutter speed and
aperture cannot be read out and set or the camera cannot be
triggered. |
|
|
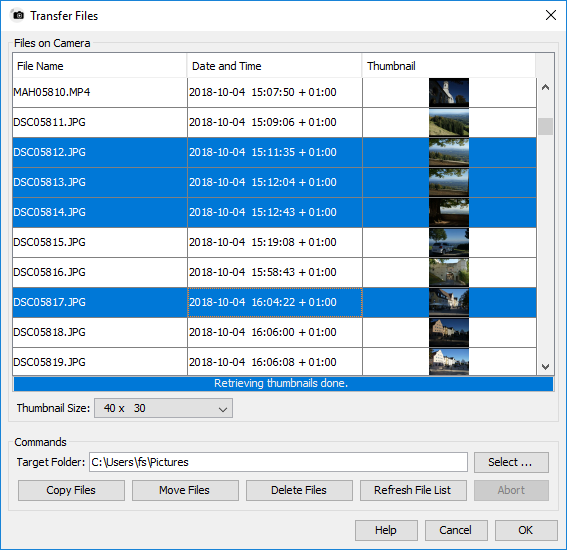
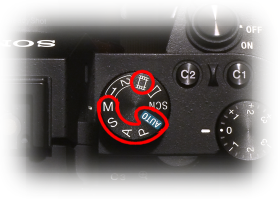
| 3. Set the
camera's mode wheel to "Auto", "P", "A", "S", "M" or
"Movie" (other modes are not supported by Sony's programming
interface) and make sure the "Airplane Mode" is set to "off"
(otherwise the WLAN is not available): |
|
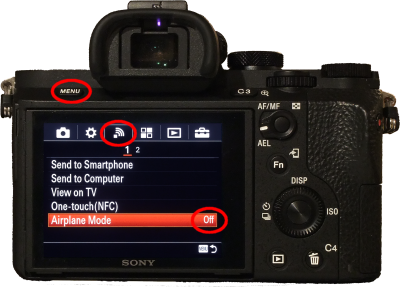 |
Fig. 1: Set the camera into
one of the marked modes.
|
Fig. 2: Press the camera's
MENU key and
set the "Airplane Mode" to "off". |
|
|
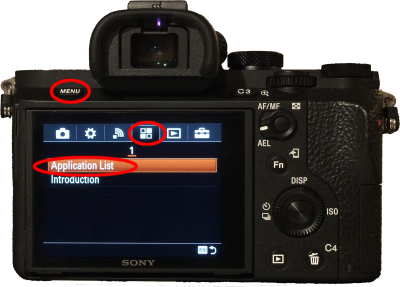
| 4. Start the "Smart Remote Control"
application on the camera: |
|
 |
 |
Fig. 3: Press the camera's
MENU key and
navigate to the camera applications, ...
|
Fig. 4: ... start the camera's
"Smart Remote Control" application; ... |
 |
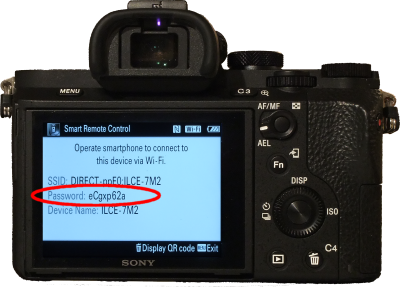 |
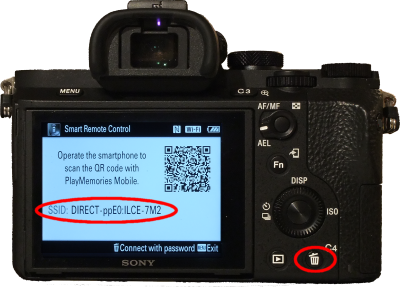
Fig. 5: ... the camera sets up
an ad-hoc network,
remember its SSID and press the camera's trash can key to
... |
Fig. 6: ... see the network's
password. |
|
|
| 5. Establish the
connection with your operating system: |
 |
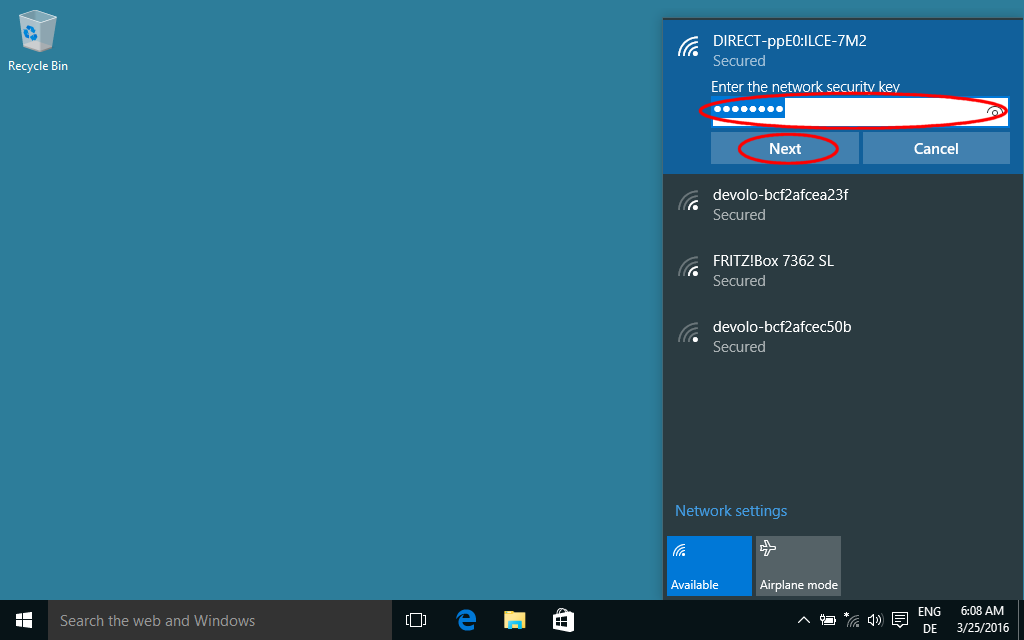 |
| Fig. 7: Search in the network
list for the camera's ad-hoc network SSID, ... |
Fig. 8: ... input the password
and establish the connection. |
|
|
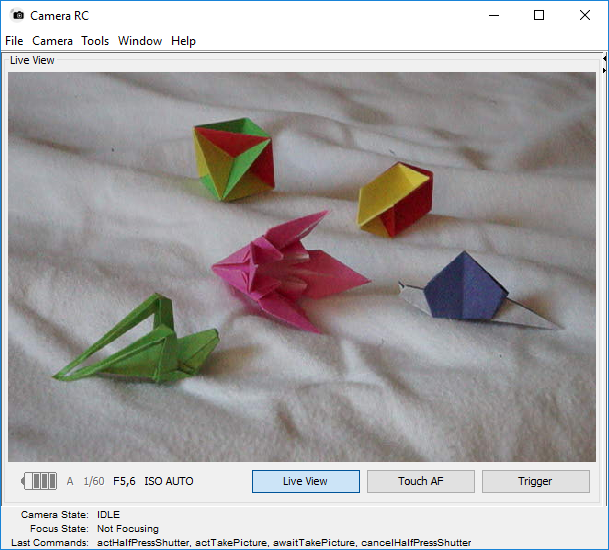
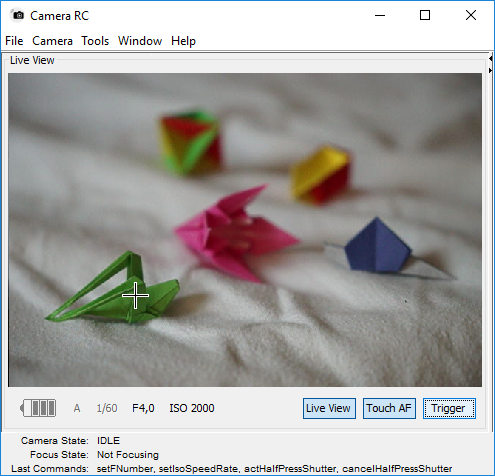
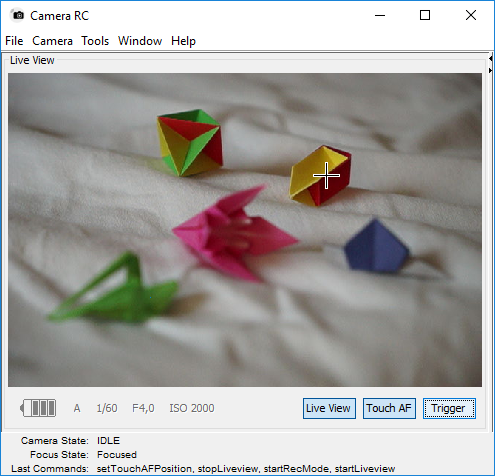
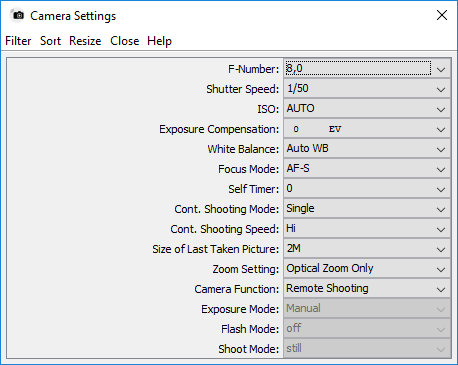
6. Start the Camera
RC application on your notebook. This can
be done
- in a shell with the command
java -jar CameraRC.jar
- or on most systems with a double click on
"CameraRC.jar"
- or under Windows with a double click on
"CameraRC.exe"; the exe file checks if the needed JRE is
installed, and guides you to the download page if not.
The application will connect with the camera automatically. |
|
|